Welcome to the Honeywell 6000 WiFi Thermostat installation manual. This guide provides step-by-step instructions for installing, configuring, and integrating the thermostat with your smart home system.
Learn how to set up WiFi connectivity, program schedules, and enjoy remote access through the Honeywell Home app. Ensure safe and efficient installation for optimal performance.
Discover key features, advanced settings, and troubleshooting tips to maximize your thermostat’s functionality and energy efficiency. Follow this manual carefully for a seamless setup experience.
Overview of the Honeywell 6000 WiFi Thermostat
The Honeywell 6000 WiFi Thermostat is a cutting-edge smart device designed to enhance home comfort and energy efficiency. It offers seamless WiFi connectivity, allowing users to control temperature settings remotely via the Honeywell Home app. Compatible with various HVAC systems, this thermostat supports voice control through Amazon Alexa and Google Home. Features include programmable scheduling, geofencing, and energy usage monitoring. Its intuitive touchscreen interface and remote access capabilities make it ideal for modern smart homes. Ensure proper installation and configuration to maximize its performance and integrate it with your existing smart home ecosystem for a convenient and energy-saving experience.
Importance of Proper Installation
Proper installation of the Honeywell 6000 WiFi Thermostat is crucial for ensuring safe and efficient operation. Incorrect wiring or setup can lead to system malfunctions, energy inefficiency, or even safety hazards. Following the installation manual carefully guarantees optimal performance, precise temperature control, and compatibility with your HVAC system. Correct setup also enables seamless integration with smart home systems and ensures reliable WiFi connectivity. Improper installation may void the warranty or cause long-term damage to the thermostat or HVAC equipment. Always disconnect power before starting and refer to the wiring diagram for accurate connections to avoid potential risks and ensure a smooth setup experience.
Key Features of the Honeywell 6000 WiFi Thermostat
The Honeywell 6000 WiFi Thermostat offers advanced features for smart temperature control. It includes remote access via the Honeywell Home app, voice control through Amazon Alexa and Google Home, and geofencing for location-based adjustments. The thermostat supports dual-band WiFi for stable connectivity and features a high-resolution touchscreen for intuitive navigation. Energy-saving modes and smart learning capabilities optimize heating and cooling, reducing energy bills. It also integrates with Apple HomeKit, providing a seamless smart home experience. These features ensure enhanced comfort, convenience, and energy efficiency, making it a top choice for modern homes seeking intelligent climate control solutions.

System Requirements
The Honeywell 6000 WiFi Thermostat requires a compatible HVAC system, stable internet connection, and dual-band WiFi support for optimal performance and remote functionality.
Compatibility with HVAC Systems
The Honeywell 6000 WiFi Thermostat is designed to work with most standard HVAC systems, including conventional heating and cooling systems, heat pumps, and dual-fuel setups. It supports single-stage, two-stage, and modulating furnaces, as well as air conditioners and heat pumps. Ensure your system is compatible with the thermostat’s wiring and voltage requirements. For proper functionality, a common wire (C-wire) is recommended. If your system lacks a C-wire, an adapter or alternative wiring configuration may be necessary. Always verify compatibility before installation to avoid potential issues.
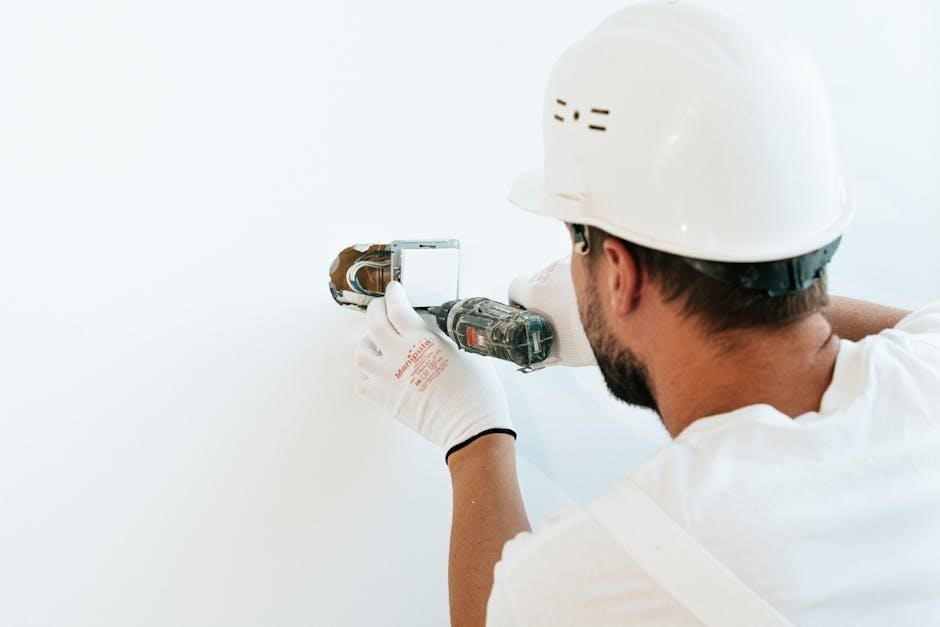
Necessary Tools for Installation
To install the Honeywell 6000 WiFi Thermostat, you will need a few essential tools. Start with a screwdriver set, including both flathead and Phillips-head screwdrivers, for removing the old thermostat and mounting the new one. Wire strippers are required for preparing the wires, and a voltage tester is crucial to ensure the power is off before handling any wiring. Additionally, a drill and wall anchors may be needed if the wall plate doesn’t fit securely. Pliers or needle-nose pliers can assist with wire connections. Finally, a ladder or step stool may be necessary for reaching the installation area. Gather all tools beforehand to ensure a smooth installation process.
Network Requirements for WiFi Connectivity
The Honeywell 6000 WiFi Thermostat requires a stable 2.4 GHz WiFi network connection to function properly. Ensure your router supports WPA2 encryption for secure connectivity. A strong internet connection is essential for remote access via the Honeywell Home app. Verify that your router is compatible with the thermostat’s WiFi standards. Avoid using guest networks or VPNs, as they may disrupt connectivity. Ensure your network name (SSID) is visible and not hidden. A reliable network ensures seamless control and monitoring of your thermostat through the app.
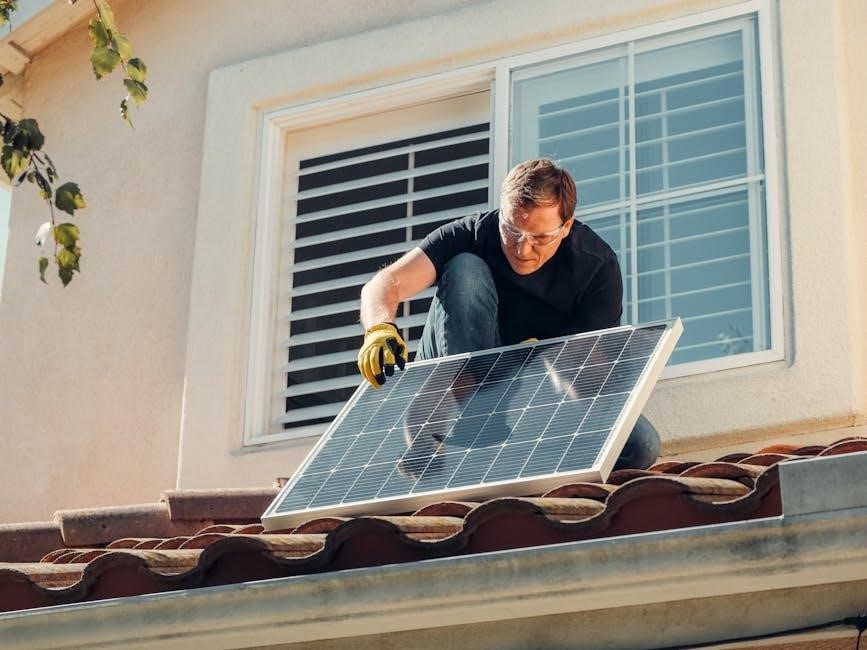
Pre-Installation Steps
Disconnect power to the HVAC system, prepare the wiring diagram, and ensure compatibility with your system. Charge the thermostat and gather necessary tools for installation.
Understanding the Wiring Diagram
Before installation, review the wiring diagram in the manual to identify terminals (R, W, Y, G, C, etc.). Ensure compatibility with your HVAC system and thermostat. Verify wire lengths and colors match the diagram. If unsure, consult a professional or Honeywell support. Proper wiring is critical for safe and efficient operation. Familiarize yourself with the terminal connections to avoid errors during installation. Use the diagram to plan wire connections accurately, ensuring all terminals are correctly paired. This step is essential for a smooth and successful installation process. Always follow safety guidelines when handling electrical components.
Disconnecting Power to the HVAC System
Before starting the installation, ensure the HVAC system is powered off. Locate the circuit breaker or switch controlling the system and turn it off. Verify the thermostat is in the “off” position. Double-check that all components, including the furnace and outdoor unit, are powered down. Use a voltage tester to confirm no power is present at the thermostat or wiring. This critical step ensures safety during installation and prevents electrical shocks or damage to the system. Always follow this procedure to protect yourself and the equipment.
Preparing the Thermostat for Installation
Before installation, ensure the thermostat is ready for setup. Remove any packaging materials and inspect the device for damage. If replacing an old thermostat, carefully disconnect and label the wires. Mount the wall plate to the desired location, ensuring it is level and secure. Insert the reference card into the wall plate for easy access to wiring information. Power off the HVAC system at the circuit breaker before proceeding. Handle the thermostat gently to avoid damaging the touchscreen or internal components. Follow these steps to ensure a smooth and safe installation process.
Installation Process
Mount the thermostat on the wall plate, ensuring it is level and secure. Connect the labeled wires to the corresponding terminals on the thermostat.
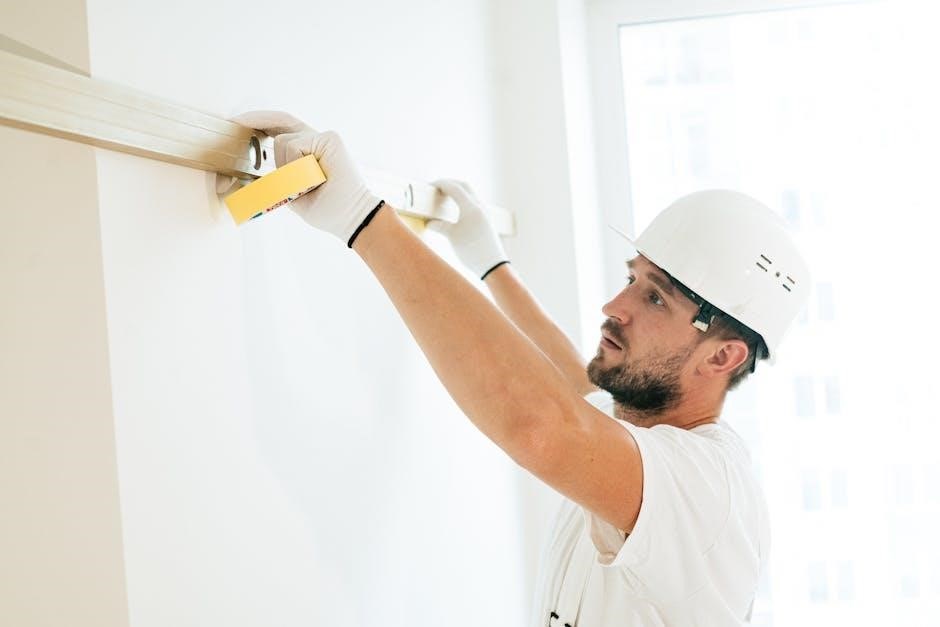
Mounting the Thermostat on the Wall
Begin by turning off power to the HVAC system at the circuit breaker. Remove the old thermostat and set it aside. Take the wall plate from the Honeywell 6000 WiFi Thermostat package and peel the adhesive backing. Press the wall plate firmly onto the wall, ensuring it is level and secure. Use the provided screws to mount the wall plate if needed. Gently snap the thermostat onto the wall plate until it clicks into place. Ensure the device is level and properly aligned for accurate temperature sensing and smooth operation. Use the built-in level tool for precision.
Connecting the Wires to the Thermostat
Ensure the power to the HVAC system is off at the circuit breaker. Identify the wires from your previous thermostat and match them to the corresponding terminals on the Honeywell 6000 WiFi Thermostat. Use the wiring diagram provided in the manual for accurate connections. Gently insert each wire into the appropriate terminal and secure it with a screwdriver. Make sure all connections are tight and properly seated. Double-check the wiring to avoid any mismatches. If unsure, consult the installation guide or contact a professional for assistance. Proper wiring is crucial for the thermostat to function correctly.
Securing the Thermostat to the Wall Plate
After connecting the wires, carefully remove the wall plate from the thermostat and align it with the wall anchors. Ensure the thermostat is level and properly positioned. Insert the wall plate into the anchors and gently press it against the wall. Use the provided screws to secure the wall plate firmly. Tighten the screws clockwise until the thermostat is snug against the wall. Avoid over-tightening to prevent damage. Once secured, test the thermostat by gently tugging on it to ensure it is stable and evenly mounted. This step ensures the thermostat is safely and properly installed.
Restoring Power to the HVAC System
Once the thermostat is securely mounted and all wires are connected, switch the circuit breaker back to the “on” position. Ensure the HVAC system is set to “Auto” or “Heat/Cool” mode to test functionality. Turn the thermostat to a temperature setting that triggers heating or cooling. Verify that the system responds correctly and operates smoothly. If the system does not activate, check the wiring connections and ensure they are secure. Refer to the HVAC system’s manual for specific startup instructions if necessary. This step ensures the system is operational and ready for configuration.
WiFi Setup and Configuration
Select your home WiFi network from the thermostat’s menu, enter the password, and wait for confirmation. Use the Honeywell Home app to complete setup and ensure a stable connection.
Connecting the Thermostat to Your Home WiFi Network
Power on the thermostat and navigate to the network settings menu. Select your home WiFi network from the available options. Enter your WiFi password using the touchscreen interface. The thermostat will attempt to connect to your network. Once connected, a confirmation message will appear. If the connection fails, ensure your password is correct and your network is functioning properly. Use the Honeywell Home app to verify the connection status and complete any additional setup steps. A stable WiFi connection is essential for remote access and smart features.
Downloading and Installing the Honeywell Home App
Open the app store on your smartphone or tablet. Search for the Honeywell Home app and select it from the results. Tap “Download” to begin the installation. Once installed, launch the app and sign in or create a Honeywell Home account. Follow the in-app prompts to link your thermostat to the app. Ensure your thermostat is connected to your home WiFi network before proceeding. The app allows you to control your thermostat remotely, set schedules, and access advanced features. Complete the setup to enjoy seamless smart home integration and energy management.
Registering the Thermostat with Honeywell Home
Open the Honeywell Home app and sign in to your account. If you don’t have one, create a new account by selecting “Create Account” and following the prompts. Once logged in, navigate to the “Add Device” section. Enter the thermostat’s MAC ID, located on the back or in the packaging, to register it. This links your thermostat to your Honeywell Home account, enabling remote control and monitoring. After registration, you’ll receive a confirmation email. Ensure your thermostat is connected to WiFi and properly configured for seamless integration with the app.
Configuring Remote Access Settings
After registering your thermostat, enable remote access in the Honeywell Home app. Go to the “Settings” menu, select “Remote Access,” and toggle the feature on. This allows you to control your thermostat from any location using your smartphone, tablet, or computer. Ensure your home WiFi network is stable and connected to the thermostat. Remote access lets you adjust temperatures, view energy usage, and receive alerts, enhancing convenience and energy management. Verify that your account and thermostat are properly linked for seamless remote operation.
Advanced Settings and Features
Explore smart features like geofencing, voice control, and energy monitoring. Program schedules, enable location-based control, and optimize energy usage for enhanced comfort and efficiency.
Programming the Thermostat for Optimal Performance
Programming the Honeywell 6000 WiFi Thermostat ensures energy efficiency and comfort. Set schedules for heating and cooling based on your daily routines. Use the Honeywell Home app to create custom programs, adjusting temperatures for different times of the day. Enable smart features like geofencing to automatically adjust settings when you leave or arrive home. Optimize performance by setting temperature ranges and preferences, ensuring your system operates efficiently. Regularly review and update your programs to maintain optimal comfort and energy savings throughout the year.
Enabling Smart Features and Voice Control
To enable smart features and voice control on your Honeywell 6000 WiFi Thermostat, start by connecting it to the Honeywell Home app. This allows remote access and scheduling. For voice control, link your thermostat to Amazon Alexa or Google Assistant via their respective apps; Once integrated, you can adjust temperatures, set schedules, and receive system updates using voice commands. Ensure your thermostat is updated to the latest software for seamless smart feature functionality. Regularly check the app settings to confirm voice control and smart integrations are active for optimal performance and convenience.
Setting Up Geofencing and Location-Based Control
Geofencing and location-based control on your Honeywell 6000 WiFi Thermostat enhance energy efficiency by adjusting settings based on your location. To set this up, open the Honeywell Home app and navigate to the location-based control section. Enable geofencing and set your home and away distances. The thermostat will automatically switch to energy-saving modes when you leave the geofenced area and resume normal operation upon your return. Customize these settings to optimize comfort and energy usage. Ensure your device location services are enabled for accurate detection and seamless functionality. This feature ensures your home is always at the right temperature while saving energy when you’re away. Regularly review and adjust the geofence radius in the app to maintain optimal performance based on your daily routine and preferences.
Monitoring Energy Usage and Consumption
The Honeywell 6000 WiFi Thermostat allows you to monitor energy usage through the Honeywell Home app. Track daily and monthly energy consumption to identify trends and optimize your settings for efficiency. The app provides detailed insights into heating, cooling, and fan usage, helping you make informed decisions to reduce energy waste. Set up custom alerts for unusual usage patterns to stay in control of your energy bills.
Use the energy usage dashboard to view historical data and compare consumption over time. This feature empowers you to adjust your thermostat settings and habits, ensuring your system operates efficiently while maintaining comfort. Regular monitoring can help you identify opportunities to save energy and lower your utility costs.
Troubleshooting Common Issues
Troubleshoot WiFi connectivity, error codes, and heating/cooling issues. Refer to the manual for solutions to common problems, ensuring your thermostat operates smoothly and efficiently.
Resolving WiFi Connectivity Problems
If your Honeywell 6000 WiFi Thermostat loses connection, restart the device and router. Ensure your network password is correct and the thermostat is within range. Check for firmware updates, as outdated software can cause issues. Verify router settings, such as enabling 2.4GHz band if using dual-band WiFi. Reset the thermostat by removing batteries or power for 30 seconds. If issues persist, consult the user manual or contact Honeywell support for further assistance. Proper connectivity ensures seamless remote control and smart home integration.
Troubleshooting Heating and Cooling Issues
If your Honeywell 6000 WiFi Thermostat isn’t controlling heating or cooling properly, check the system settings. Ensure the thermostat is set to the correct mode (Heat/Cool/Off). Verify the temperature setpoint and adjust if necessary. Check the HVAC system’s power source and ensure all circuit breakers are on. Inspect wiring connections for damage or loose links. If the issue persists, review the system configuration in the Installer Setup menu. Ensure the thermostat is matched to your HVAC type. For temperature discrepancies, verify sensor accuracy. Refer to the user manual for specific error codes and solutions. Restart the system if needed, and contact support if problems remain unresolved.
Understanding and Fixing Error Codes
The Honeywell 6000 WiFi Thermostat displays error codes to identify issues. Common codes include E1 (temperature difference exceeds 3°F), E30 (communication failure), and E92 (system mismatch). Refer to the user manual for specific code meanings. To resolve, restart the thermostat, check wiring connections, and ensure proper system configuration. For E30, verify WiFi connectivity and router settings. If issues persist, reset the thermostat to factory settings or contact Honeywell support for assistance. Always follow safety guidelines when troubleshooting electrical systems.
Maintenance and Updates
Regularly clean the thermostat’s touchscreen and check for software updates. Schedule routine maintenance to ensure optimal performance and energy efficiency. Update settings as needed.
Routine Maintenance for the Thermostat
Regular maintenance ensures the Honeywell 6000 WiFi Thermostat operates efficiently. Clean the touchscreen gently with a soft cloth to remove dust and smudges. Check and replace the air filter as needed to maintain HVAC performance. Update the thermostat software periodically to access new features and improvements. Inspect the wiring connections to ensure they are secure and free from damage. Schedule annual professional HVAC system maintenance to optimize performance and extend the thermostat’s lifespan. These routine tasks help maintain reliability and energy efficiency.
Updating the Thermostat Software
To ensure optimal performance, regularly update the Honeywell 6000 WiFi Thermostat software; Check for updates in the thermostat menu under “Settings” or through the Honeywell Home app. Enable auto-update for automatic installation of new firmware. Before updating, ensure the thermostat is connected to your WiFi network. During the update, avoid turning off the power or disconnecting the device. If an update fails, restart the thermostat and retry. Updates improve functionality, security, and compatibility, ensuring your thermostat operates efficiently and securely.
Caring for the Touchscreen and Hardware
Regularly clean the Honeywell 6000 WiFi Thermostat’s touchscreen with a soft, dry cloth to remove fingerprints and smudges. Avoid using harsh chemicals, abrasive cleaners, or excessive moisture, as they may damage the screen. For stubborn marks, lightly dampen a cloth with water, but ensure it is not soaking wet. Avoid exposing the thermostat to direct sunlight or extreme temperatures. Handle the device with care to prevent physical damage. Update the software periodically to maintain functionality. For detailed cleaning instructions, refer to the Honeywell Home app or user manual.
Integration with Smart Home Systems
Seamlessly connect your Honeywell 6000 WiFi Thermostat with popular smart home platforms like Amazon Alexa, Google Home, and Apple HomeKit for enhanced voice control and automation.
Compatibility with Amazon Alexa
Experience voice control by integrating your Honeywell 6000 WiFi Thermostat with Amazon Alexa. Enable the Honeywell Home skill on your Alexa app to manage temperature settings effortlessly.
Use commands like “Alexa, set the living room to 72 degrees” or “Alexa, turn up the heat” for seamless control. This integration enhances convenience and smart home automation, ensuring your thermostat works harmoniously with your Alexa-enabled devices. Compatible with all Alexa smart speakers, this feature simplifies temperature adjustments without leaving your comfort zone.
Integration with Google Home and Assistant
Seamlessly integrate your Honeywell 6000 WiFi Thermostat with Google Home and Assistant for voice-controlled temperature management. Link your Honeywell Home account to Google Home to enjoy hands-free adjustments, such as “Hey Google, set the bedroom temperature to 70 degrees.”
This integration allows you to control your thermostat effortlessly using Google Assistant, enhancing your smart home experience. Compatible with all Google Home devices, it ensures a smooth and efficient way to manage your comfort and energy usage without lifting a finger.
Working with Apple HomeKit
The Honeywell 6000 WiFi Thermostat is compatible with Apple HomeKit, enabling seamless integration into your Apple smart home ecosystem. To connect, ensure your thermostat is updated and linked to your Honeywell Home account. Open the Apple Home app, add the thermostat as a new accessory, and follow the prompts to complete the setup.
With HomeKit integration, you can control your thermostat using Siri voice commands, create custom Scenes, and automate temperature adjustments based on your routine. This integration enhances convenience and streamlines smart home management, ensuring optimal comfort and energy efficiency.
Security Considerations
Ensure your Honeywell 6000 WiFi Thermostat is secure by protecting your WiFi network with a strong password and enabling WPA3 encryption. Regularly update the thermostat’s software and use a unique, complex password for your Honeywell Home account to prevent unauthorized access. This enhances data privacy and safeguards your smart home system from potential vulnerabilities.
Securing Your WiFi Network for Thermostat Access
To ensure secure access to your Honeywell 6000 WiFi Thermostat, use a strong, unique password for your WiFi network and enable WPA3 encryption. Avoid using public or shared networks for thermostat connectivity. Regularly update your router’s firmware and disable unnecessary features like remote access when not in use. Additionally, set your network to “private” and limit device access to trusted users. This protects your thermostat and smart home system from unauthorized access and potential breaches. Always verify the authenticity of firmware updates before installation.
Best Practices for Protecting Your Smart Thermostat
To protect your Honeywell 6000 WiFi Thermostat, ensure it is installed in a secure location, out of reach of unauthorized users. Use strong, unique passwords for both your WiFi network and Honeywell Home app. Regularly update the thermostat’s software and app to maintain security patches. Avoid accessing the thermostat through unsecured public networks and disable remote access when not needed. Monitor device activity and restrict permissions to trusted users only. Additionally, enable two-factor authentication for your Honeywell Home account to add an extra layer of security. This helps safeguard your smart home system from potential breaches or unauthorized access.
Understanding Data Privacy and Encryption
The Honeywell 6000 WiFi Thermostat ensures data privacy through robust encryption protocols, safeguarding your information during transmission and storage. All communication between the thermostat and the Honeywell Home app is encrypted using advanced security measures. Your personal data, including schedules and preferences, remains confidential. Honeywell complies with industry standards for data protection, ensuring your smart home system operates securely. By encrypting data, the thermostat prevents unauthorized access, protecting your privacy and maintaining the integrity of your smart home network. This ensures a secure and reliable user experience;
After successful installation, verify all settings and connections. Enjoy enhanced comfort, energy efficiency, and remote control with your Honeywell 6000 WiFi Thermostat.
Final Checks and Verification
After completing the installation, perform a thorough system check to ensure everything functions correctly. Verify that the thermostat is properly mounted and all wires are securely connected. Test the WiFi connectivity by connecting to your home network and accessing the Honeywell Home app. Check the thermostat’s response to temperature adjustments and scheduling. Ensure remote access is enabled and functioning. Review error codes if any appear. Finally, confirm that the thermostat is integrated with your HVAC system and operates smoothly. This final verification ensures optimal performance and a seamless user experience.
Enjoying the Benefits of Your Honeywell 6000 WiFi Thermostat
Experience the convenience of smart temperature control with the Honeywell 6000 WiFi Thermostat. Enjoy remote access through the Honeywell Home app, allowing you to adjust settings from anywhere. Save energy with programmable schedules and geofencing, optimizing comfort and efficiency. Integrate seamlessly with smart home systems like Amazon Alexa and Google Home for voice control. Receive alerts for temperature changes and system notifications, ensuring peace of mind. With its intuitive touchscreen and advanced features, this thermostat enhances your home’s comfort and modernizes your lifestyle, making it a valuable addition to your smart home ecosystem.