Converting from automatic to manual offers enhanced driver engagement and potential performance gains. This process involves significant mechanical and electronic adjustments, demanding careful planning and execution.
Why Convert from Automatic?
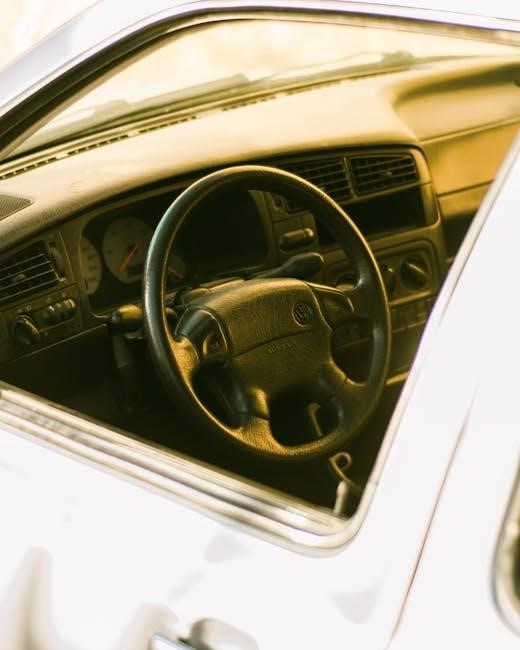
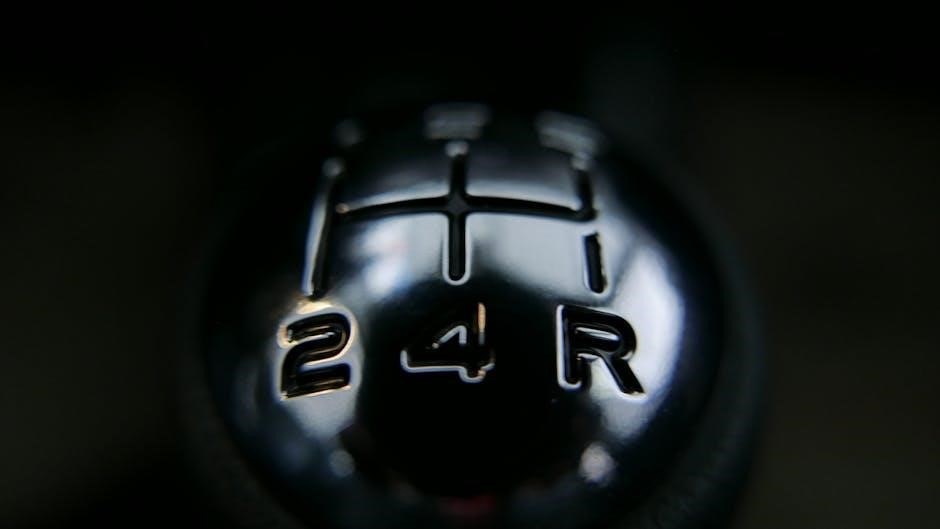
The desire to switch from an automatic to a manual transmission often stems from a pursuit of a more connected driving experience. Many enthusiasts prefer the direct control a manual gearbox provides, fostering a greater sense of engagement with the vehicle. Beyond the driving feel, a manual swap can potentially unlock performance improvements, as manual transmissions generally exhibit fewer parasitic losses compared to automatics.
Furthermore, some individuals undertake this conversion simply because they prefer the simplicity and reliability of a manual system. While modern automatics are sophisticated, they can be complex and expensive to repair. A manual transmission, in contrast, is often viewed as more straightforward and durable. The initial investment in a conversion might be offset by lower long-term maintenance costs, depending on the vehicle and driving habits.
However, it’s crucial to acknowledge that this isn’t merely about performance; it’s about personal preference and the joy of driving.
Vehicle Suitability & Considerations
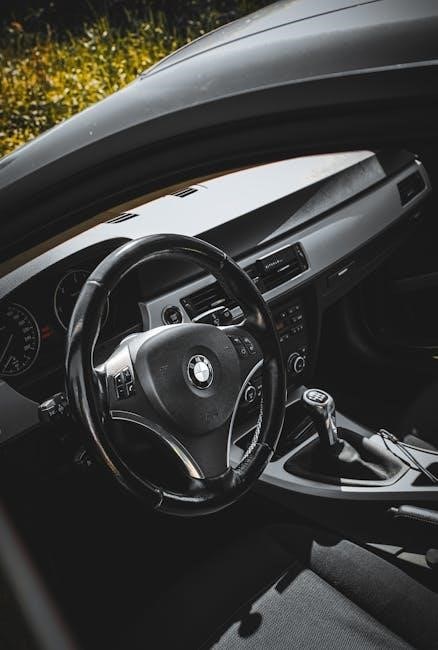
Not all vehicles are ideal candidates for a manual transmission conversion. Factors like engine type, available space, and existing vehicle architecture play crucial roles. Front-wheel-drive vehicles generally present more challenges than rear-wheel-drive counterparts due to the integrated transaxle design. Thorough research is essential to determine if a compatible manual transmission exists and if the necessary supporting components are readily available.
Consider the vehicle’s intended use. A daily driver might benefit less from a conversion than a dedicated track or enthusiast vehicle. The added complexity of a manual system could detract from the convenience of an automatic in heavy traffic. Additionally, assess your mechanical skills and access to tools. This project demands a significant level of expertise and specialized equipment.
Finally, be mindful of potential resale value implications. While some buyers actively seek manual transmissions, others may prefer the ease of an automatic.
Parts Required for the Conversion
Essential components include a manual transmission, clutch kit, flywheel, bellhousing, shifter mechanism, pedal assembly, and potentially a modified driveshaft for proper alignment.
Transmission Selection & Compatibility
Choosing the correct manual transmission is paramount for a successful conversion. Compatibility hinges on the engine type – ensuring the transmission’s input shaft matches the engine’s crankshaft. For a Jetta VR6, sourcing a transmission specifically designed for that engine is crucial.
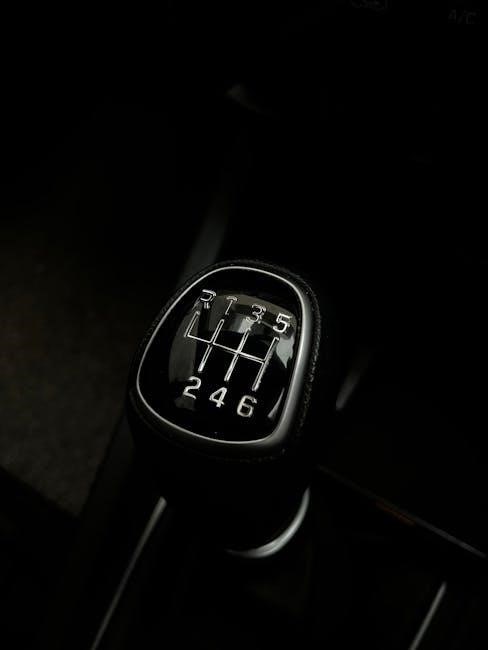
Consider gear ratios; selecting ratios that complement your driving style and vehicle usage is important. Donor cars, particularly those with the same engine, are excellent sources. Thoroughly research the transmission code to verify its suitability.
Bellhousing compatibility is a significant factor. Automatic and manual transmissions often utilize different bellhousing patterns. Mismatched bellhousings necessitate adapters or a complete bellhousing swap, adding complexity and cost. Careful measurement and verification are essential before purchasing any transmission.
Clutch Kit Components
A complete clutch kit is essential, encompassing more than just the disc. Key components include the pressure plate, clutch disc, and release bearing (throw-out bearing). The pressure plate provides the clamping force, while the disc transmits engine power to the transmission. The release bearing disengages the clutch when the pedal is pressed.
Selecting a kit matched to your engine’s torque capacity is vital. Upgraded kits are available for higher-performance engines. Also, consider the pilot bearing or bushing, which supports the transmission input shaft.
Ensure the kit includes a clutch alignment tool; this centers the disc during installation, preventing misalignment and difficulty shifting. Quality components are crucial for longevity and smooth operation. Don’t compromise on this aspect of the conversion.
Flywheel Considerations
The flywheel is a critical component when converting, as the automatic transmission setup won’t have a compatible flywheel. A manual transmission flywheel is required to accept the clutch assembly. Flywheel weight impacts engine responsiveness; lighter flywheels offer quicker revving but can make the car more difficult to drive smoothly at low speeds.
Dual-mass flywheels (DMFs) are common in some vehicles, reducing vibrations but are often expensive to replace. A solid flywheel is a more affordable alternative, though it may transmit more vibration. Ensure the flywheel is correctly balanced to prevent vibrations and potential engine damage.
Check for compatibility with your specific engine and transmission. Some flywheels require specific clutch kits, so research thoroughly before purchasing. Proper flywheel installation and torque specifications are crucial for safe and reliable operation.
Bellhousing and Alignment
Bellhousing differences between automatic and manual transmissions are common; careful inspection is vital. Driveshaft centerline alignment is crucial for a functional and reliable conversion.
Bellhousing Differences: Auto vs. Manual
The bellhousing, which connects the engine to the transmission, often differs significantly between automatic and manual setups. Automatic transmissions typically utilize a bellhousing designed to accommodate a torque converter, featuring a larger and differently shaped opening. Manual transmissions, conversely, require a bellhousing compatible with a clutch disc and pressure plate.
These differences aren’t merely dimensional; mounting points for the starter motor and other accessories can also vary. Simply bolting a manual transmission to an automatic bellhousing – or vice versa – is rarely possible without adapters or a complete bellhousing replacement. Ensuring proper alignment is paramount; a mismatch can lead to vibration, premature wear, and even catastrophic failure of the drivetrain. Careful measurement and potentially fabrication work may be necessary to achieve correct alignment, especially when swapping between transmission types.
Compatibility must be thoroughly researched before purchasing parts. Some vehicles may offer bellhousings that accommodate both transmission types, but this is not always the case.
Driveshaft Centerline Alignment
Achieving proper driveshaft centerline alignment is crucial during a manual transmission conversion. Automatic and manual transmissions often have different lengths and mounting positions, impacting the driveshaft angle. Misalignment introduces vibrations, stresses the drivetrain components, and reduces efficiency.
The goal is to maintain a consistent driveshaft angle throughout suspension travel. This requires careful measurement of the engine and transmission positions relative to the differential. If the bellhousing doesn’t align with the driveshaft centerline, expensive fabrication work might be needed to correct the issue.
Solutions range from adjustable transmission mounts to custom driveshaft fabrication. A driveshaft loop may also be necessary to support the driveshaft and prevent excessive vibration, particularly in lowered vehicles. Ignoring this step can lead to premature wear of U-joints, the differential, and the transmission itself, ultimately compromising the vehicle’s reliability.
Pedal Assembly & Linkage
Installing a clutch pedal and associated linkage is essential. This includes sourcing the correct pedal assembly and ensuring smooth, reliable engagement with the clutch master cylinder.
Clutch Pedal Installation
The installation of a clutch pedal requires careful attention to detail, as it’s a fundamental component for manual operation. Removing the existing automatic brake pedal assembly is the first step, often involving disconnecting electrical connectors and unbolting the assembly from the firewall.
Next, the manual clutch pedal assembly must be fitted, ensuring proper alignment with the master cylinder mounting point. This often necessitates drilling new holes or utilizing existing, unused mounting points. Correct pedal height and travel are crucial for comfortable and effective operation.
Proper securing of the pedal assembly is paramount; use high-strength bolts and torque them to the manufacturer’s specifications. Connecting the clutch pedal to the master cylinder is the final step, requiring careful bleeding of the hydraulic system to eliminate air bubbles and ensure optimal clutch engagement. Verify full pedal travel and smooth operation before proceeding.
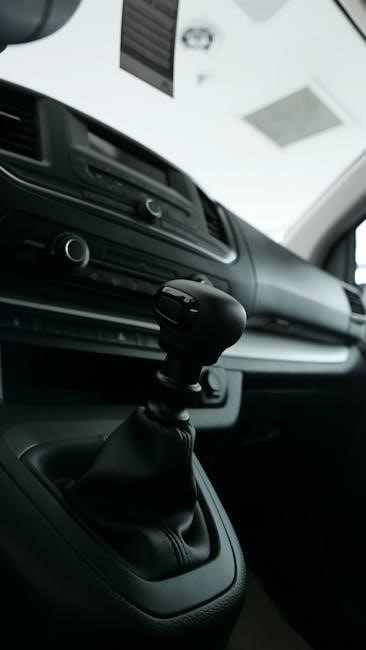
Shifter Linkage & Mechanism
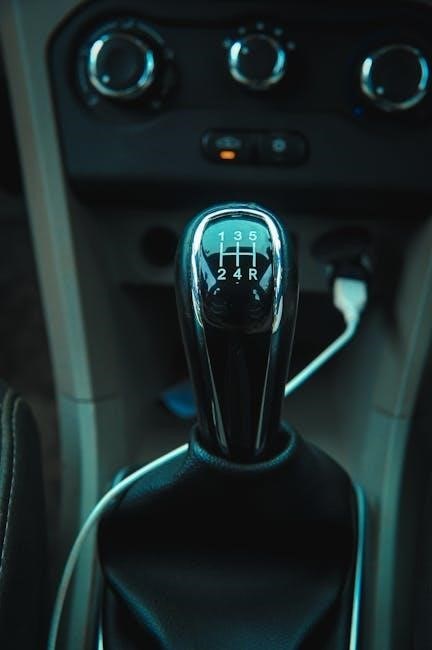
Installing the shifter linkage is a critical step, demanding precise alignment for smooth and accurate gear selection. This typically involves mounting the shifter assembly to the transmission tunnel, ensuring it’s securely fastened and doesn’t interfere with other components.
The linkage itself connects the shifter to the transmission, translating the driver’s movements into gear changes. Depending on the vehicle, this can be a cable-operated system or a direct linkage with rods and pivots. Careful adjustment of the linkage is essential to achieve proper gate positioning and prevent binding;
Verify that each gear engages cleanly and without resistance. Any looseness or play in the linkage will result in imprecise shifting. Consider using new bushings and hardware to ensure a solid and reliable connection. A properly installed shifter linkage is vital for an enjoyable driving experience.
ECU Recoding & Vag-Com
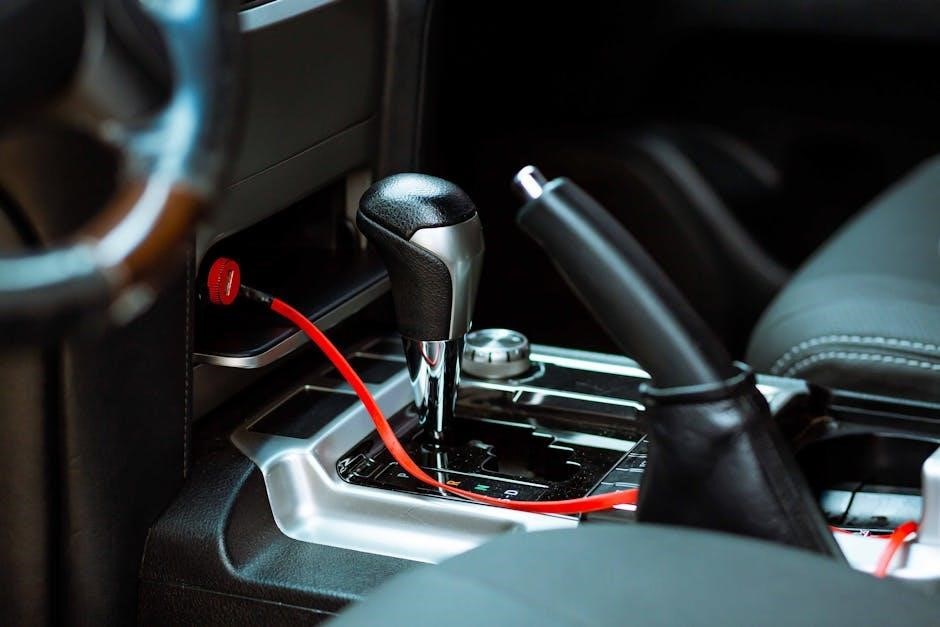
Post-swap, the ECU requires recoding to recognize the manual transmission, disabling automatic transmission-related functions and enabling appropriate sensor inputs for accurate operation.
Importance of ECU Recoding
Successfully transitioning from an automatic to a manual transmission fundamentally alters how the vehicle’s computer (ECU) interprets signals. Without proper recoding, the ECU will continue to expect feedback from the automatic transmission, leading to a cascade of issues. These can range from incorrect sensor readings and warning lights to potentially damaging operational errors.
Specifically, the ECU needs to be informed that the transmission is now manually controlled, disabling features like torque converter lockup and shift interlocks designed for automatics. Furthermore, it must recognize the new inputs from the manual transmission’s speed sensor and potentially adjust engine parameters for optimal performance with the manual gearbox. Ignoring this step can result in a non-functional vehicle or, worse, damage to the engine or transmission.
Vag-Com (or VCDS – Volkswagen Coding Services) is the primary tool used for this process on vehicles within the Volkswagen Audi Group, allowing modification of control module parameters to reflect the new manual setup.
Vag-Com/VCDS Procedures
Utilizing Vag-Com or VCDS requires a diagnostic interface cable connected to the vehicle’s OBD-II port and the software installed on a computer. The initial step involves identifying the relevant control modules – typically the Engine Control Module (ECM) and the Transmission Control Module (TCM), though the latter may not be present with a full manual swap.
Within the software, you’ll navigate to the coding blocks of these modules. Specific coding changes are necessary to disable automatic transmission-related functions and enable manual transmission compatibility. This often involves changing specific bytes within the coding sequences. Accurate coding information is crucial; incorrect values can lead to further issues.
Post-coding, clear any Diagnostic Trouble Codes (DTCs) and perform a system scan to verify successful implementation. It’s highly recommended to document the original coding values before making changes, allowing for easy reversion if needed. Thorough testing on a safe route is essential to confirm proper operation.

Cost Breakdown & Budgeting
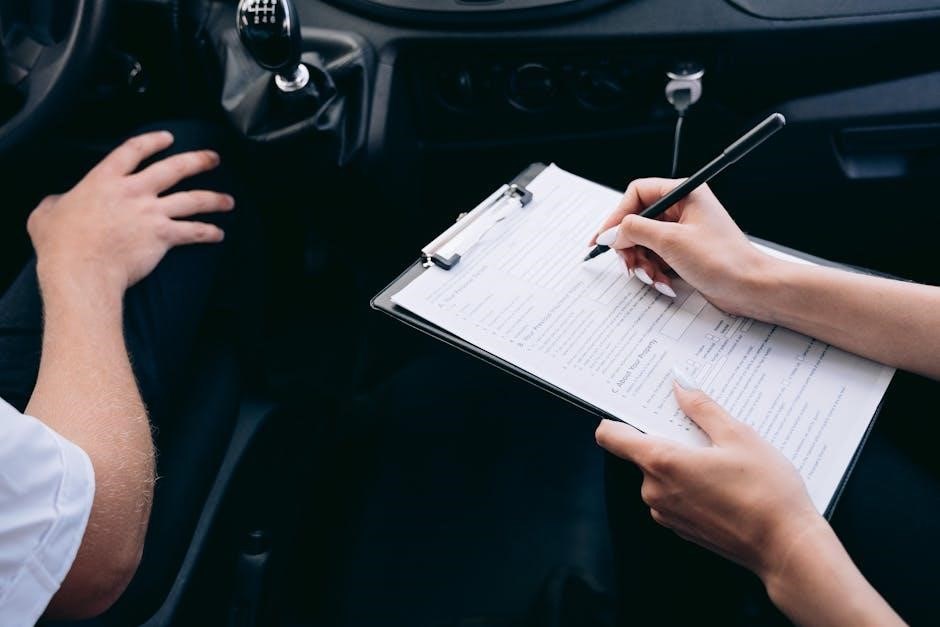
Budgeting for this conversion varies widely, encompassing transmission, clutch, flywheel, bellhousing, linkage, and potential fabrication costs. Labor adds significantly to the overall expense.
Parts Costs (Transmission, Clutch, etc.)
Estimating parts costs requires diligent research. A used manual transmission can range from $500 to $2000, depending on condition and source – classifieds are a good starting point. A new clutch kit, including the disc, pressure plate, and throw-out bearing, typically falls between $300 and $800.
The flywheel is a crucial component; a new one can cost $200 to $500, or potentially more for a dual-mass flywheel. Bellhousing compatibility is key; if a new one is needed, budget another $150 to $400. Don’t forget the shifter linkage and mechanism, costing around $100 to $300.
Smaller parts like the clutch pedal assembly, master and slave cylinders, and hardware can add another $200 to $500. Finally, factor in fluids and potentially a new driveshaft if modifications are required, adding $100-$300. Thoroughly researching prices and considering used versus new parts is vital for accurate budgeting.
Labor Costs (If Applicable)
If opting for professional installation, labor costs for a manual transmission conversion can vary significantly. Expect a range of $800 to $2500, depending on the shop’s hourly rate and the complexity of the conversion for your specific vehicle. More intricate work, such as custom fabrication for the bellhousing or driveshaft alignment, will naturally increase costs.
ECU recoding and Vag-Com adjustments also contribute to labor expenses, potentially adding $100 to $300 if not performed by the installer. Some shops may bundle this service. It’s crucial to obtain detailed quotes from multiple mechanics, outlining all tasks included.
DIY installation saves on labor but requires significant mechanical skill and specialized tools. Incorrect installation can lead to costly repairs, so assess your capabilities honestly before attempting a self-install. Remember to factor in potential unforeseen issues that may arise during the process.